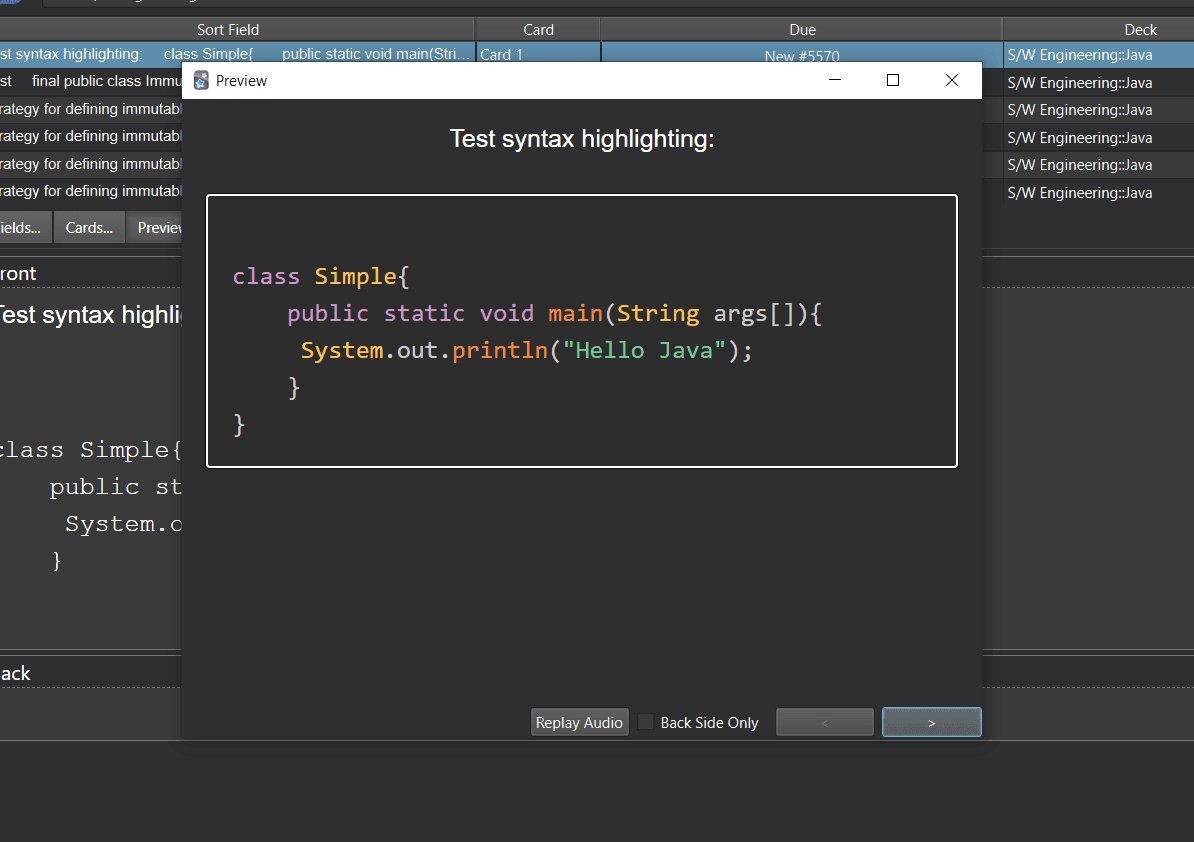
Anki - syntax highlighting
This article is a guide to implement code syntax highlighting in anki using prism js. I am able to implement code syntax highlighting by following this as it shows the steps to include external javascript and css.
Steps
- Download prism.js and prism.css
- Copy above downloaded files to anki's
collection.mediafolder - Add code that import the prism js to card template
- Add code that import the prism css to card template
- Add code for syntax highlighting in your cards
Download prism.js and prism.css
First go to this link to download prism js and css files.
Here you need to select the language(s) for which you want to enable syntax highlighting. For my case,
I have selected all languages. You can also select plugins. Here i have selected line highlight and line numbers
plugin.
At top of this page, there is compression level that is development or minified. You can choose anyone, only difference
between them is of size. I am choosing minified version here.
For themes, You can test drive. For me, I am choosing Tomorrow Night.
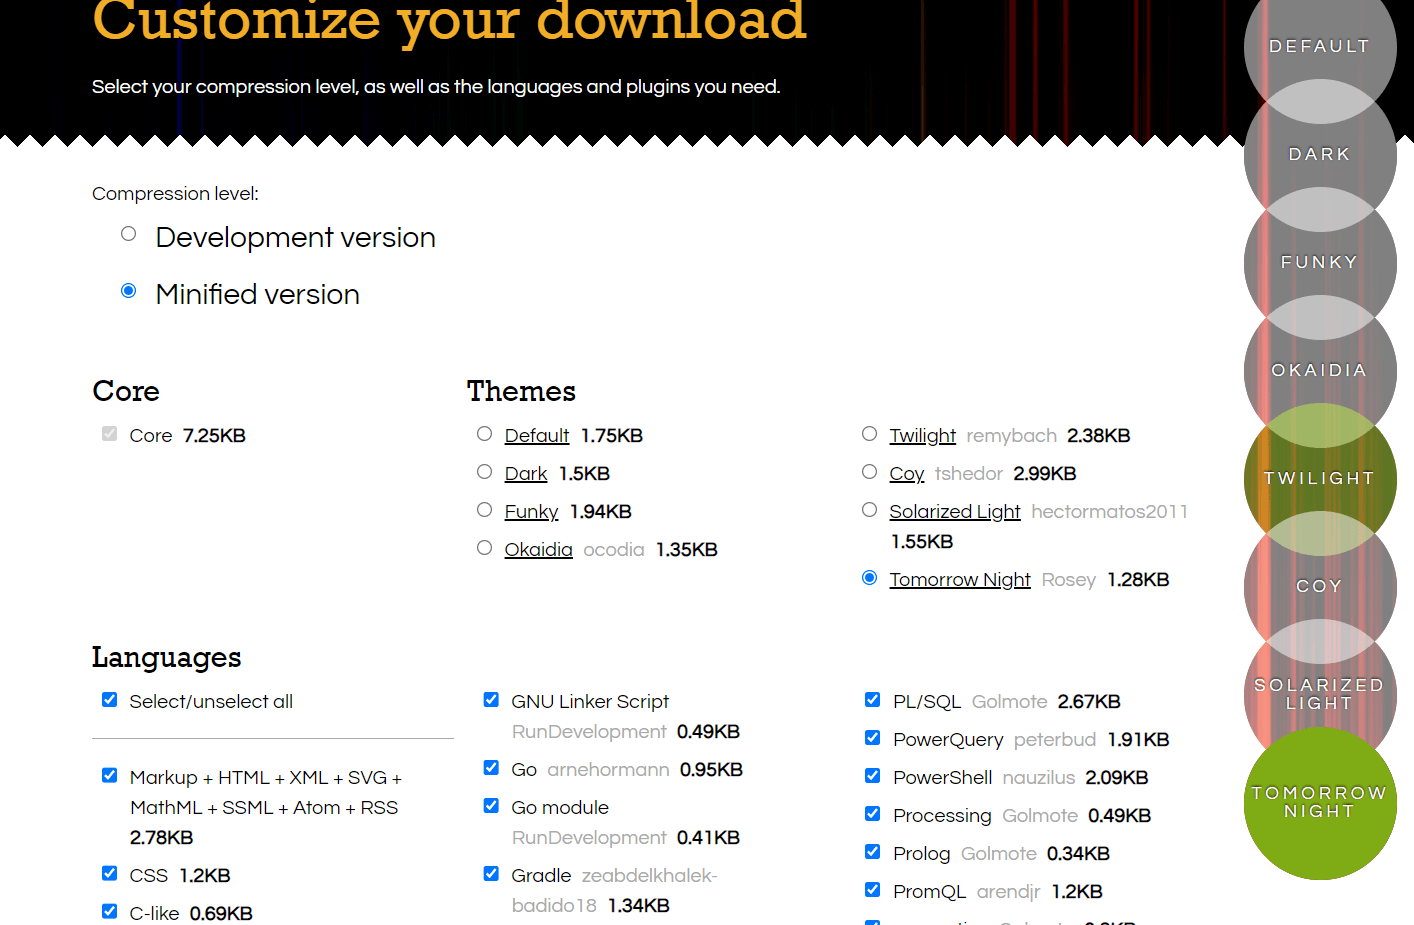
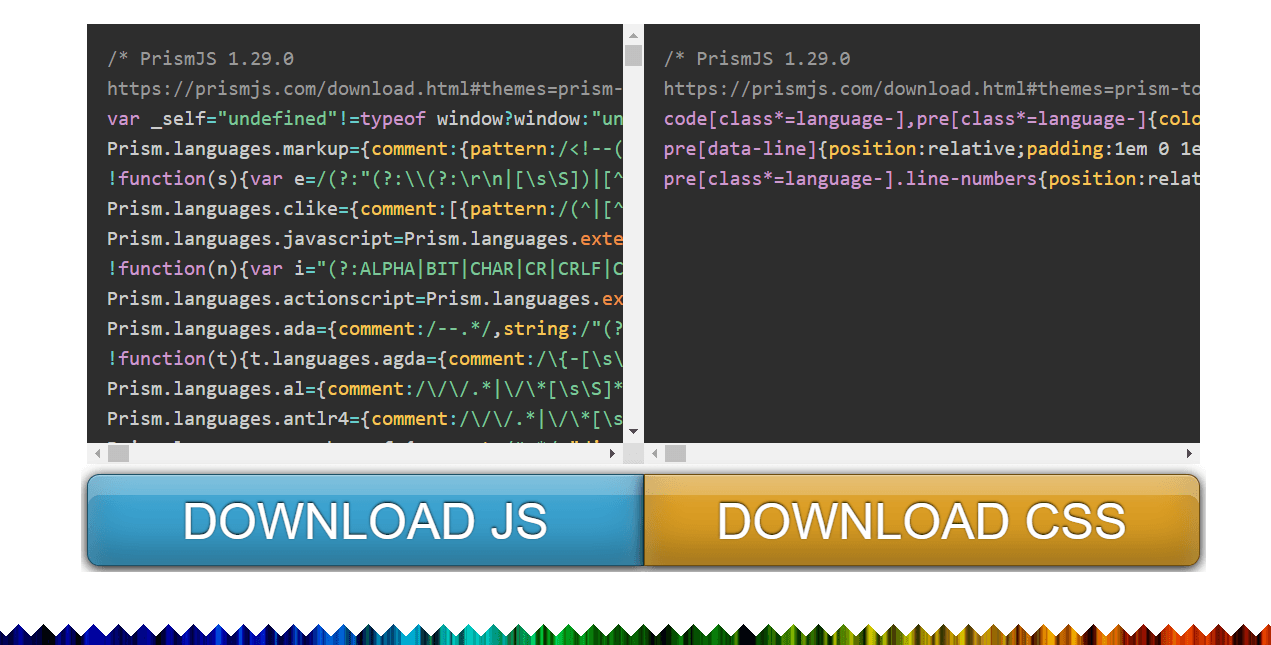
Now, go to bottom of the page and there are two big buttons DOWNLOAD JS and DOWNLOAD CSS. Click on each of them
to download the corresponding files. Now, your download folder will have two files prism.js and prism.css.
Rename these files to _prism.js and _prism.css. We are renaming them because files starting with underscore
are ignored in Anki's tools -> Check Media and they will not be counted as unused.
Copy above downloaded files to anki's collection.media folder
In this step, we have to copy the _prism.js and _prism.css to Anki's collection.media folder. But before that
we need to locate that folder. The path to this folder is depends on operating system and anki's username and
this link will help. For my case it is at
C:\Users\bhanu\AppData\Roaming\Anki2\bhanu\collection.media.
Add code that import the prism js to card template
In this section, i am going to enable syntax highlighting on basic card type. We know there are two sides of basic card ie. front and back.
The javascript we are going to add are to be added to both front and back card template.
Refer the below images, from where you can configure the templates.
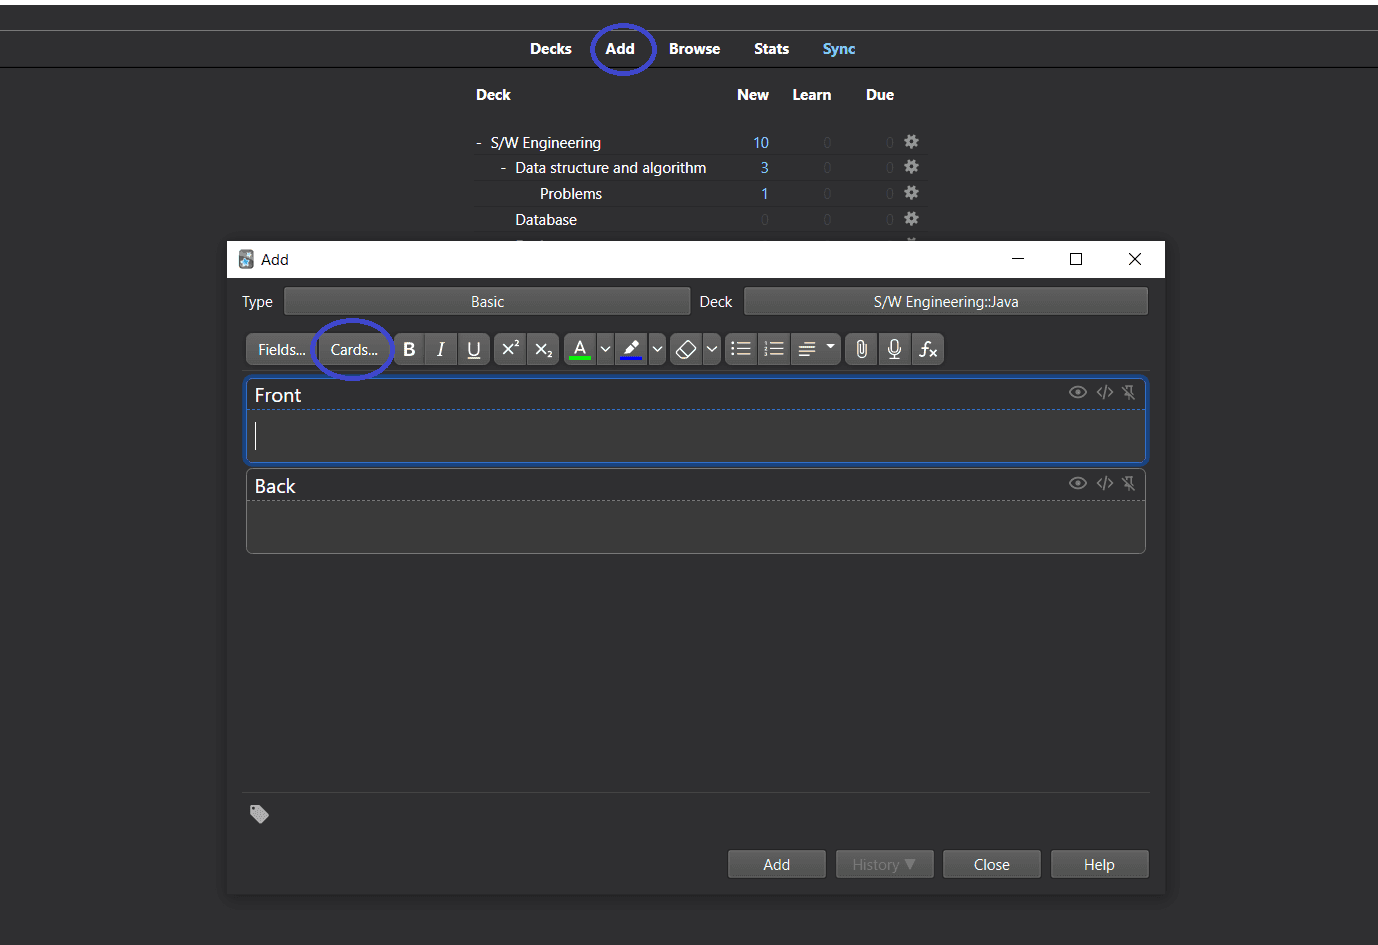
Click on Cards... and you will be presented with below screen. There will be three radio button, Front Template, Back Template and Styling.
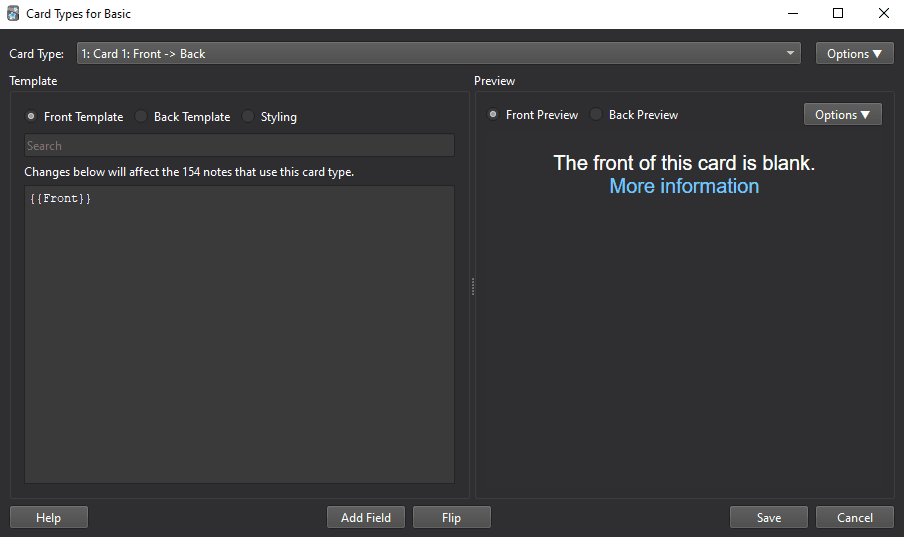
As you see there is only {{Front}} is written on the template. This syntax reminds me of string interpolation.
So, we can imagine this area as html document, and we can add javascript code inside the script tag like -
<script>
// some javascript code
</script>
Now we are going to add copy all javascript code from _prism.js and paste it below the {{Front}} between the
script tag. See the below image.
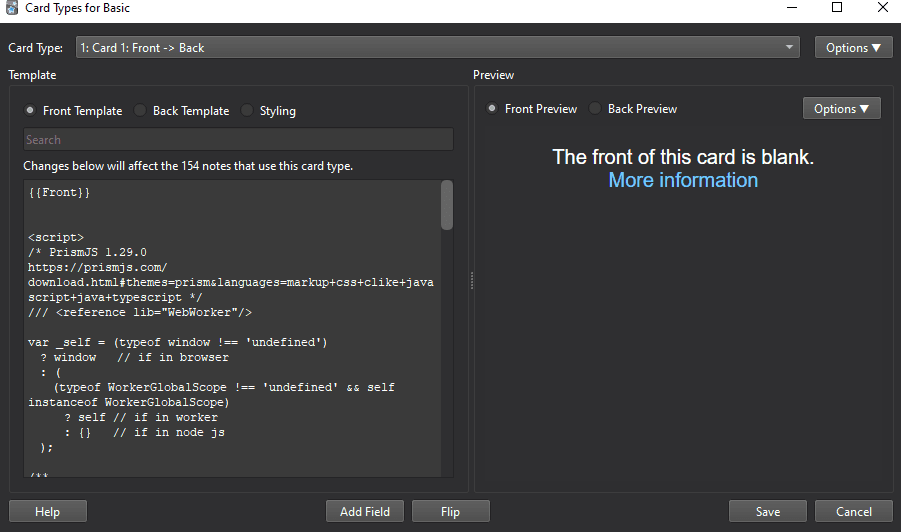
Our work on front template is done. Let's click on back template now. Without anything, back template look like this
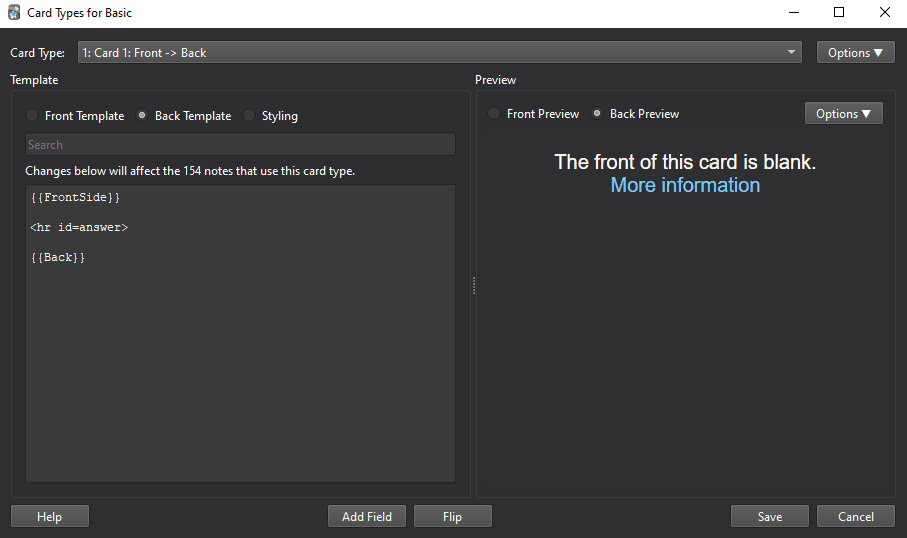
In back template we are again going to add the javascript below {{Back}}, but are not going to copy all
of _prism.js code as we done in front template. Rather we are going to load the _prism.js file from collection.media
folder. For it, the original source code, I have taken from
here and modified
it to our use case.
var files = [{
    name: "Prism",
    url: "_prism.js"
}]

function getAnkiPrefix() {
    return globalThis.ankiPlatform === "desktop" ?
        "" :
        globalThis.AnkiDroidJS ?
        "https://appassets.androidplatform.net" :
        "."
}

if (!globalThis.ExternalScriptsLoaded) {
    var promises = []
    for (file of files) {
        promises.push(loadScript(file))
    }
    Promise.all(promises).then(() => {
        globalThis.ExternalScriptsLoaded = true
    })
}

async function loadScript(file) {
    var scriptPromise = import (`${getAnkiPrefix()}/${file.url}`)
    scriptPromise.then(() => {
            console.log(`Loaded ${file.name}.`)
            if (file.init) file.init()
            if (file.dependent) loadScript(file.dependent)
        },
        (error) => console.log(`An error occured while loading ${file.name}:`, error)
    )
    return scriptPromise
}
Now copy above code and paste below {{Back}}, in you card template inside script tag. Look at below screenshot.
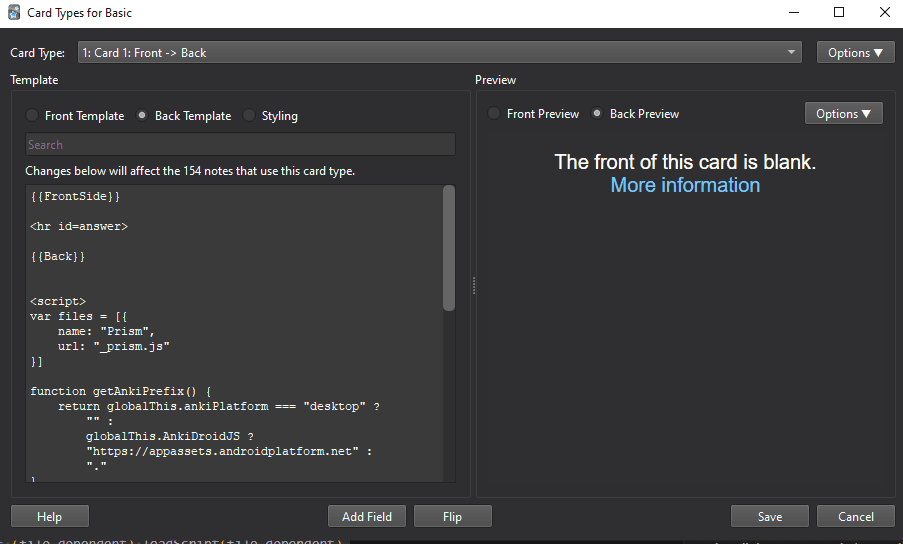
And don't forget to click on Save button.
Add code that import the prism css to card template
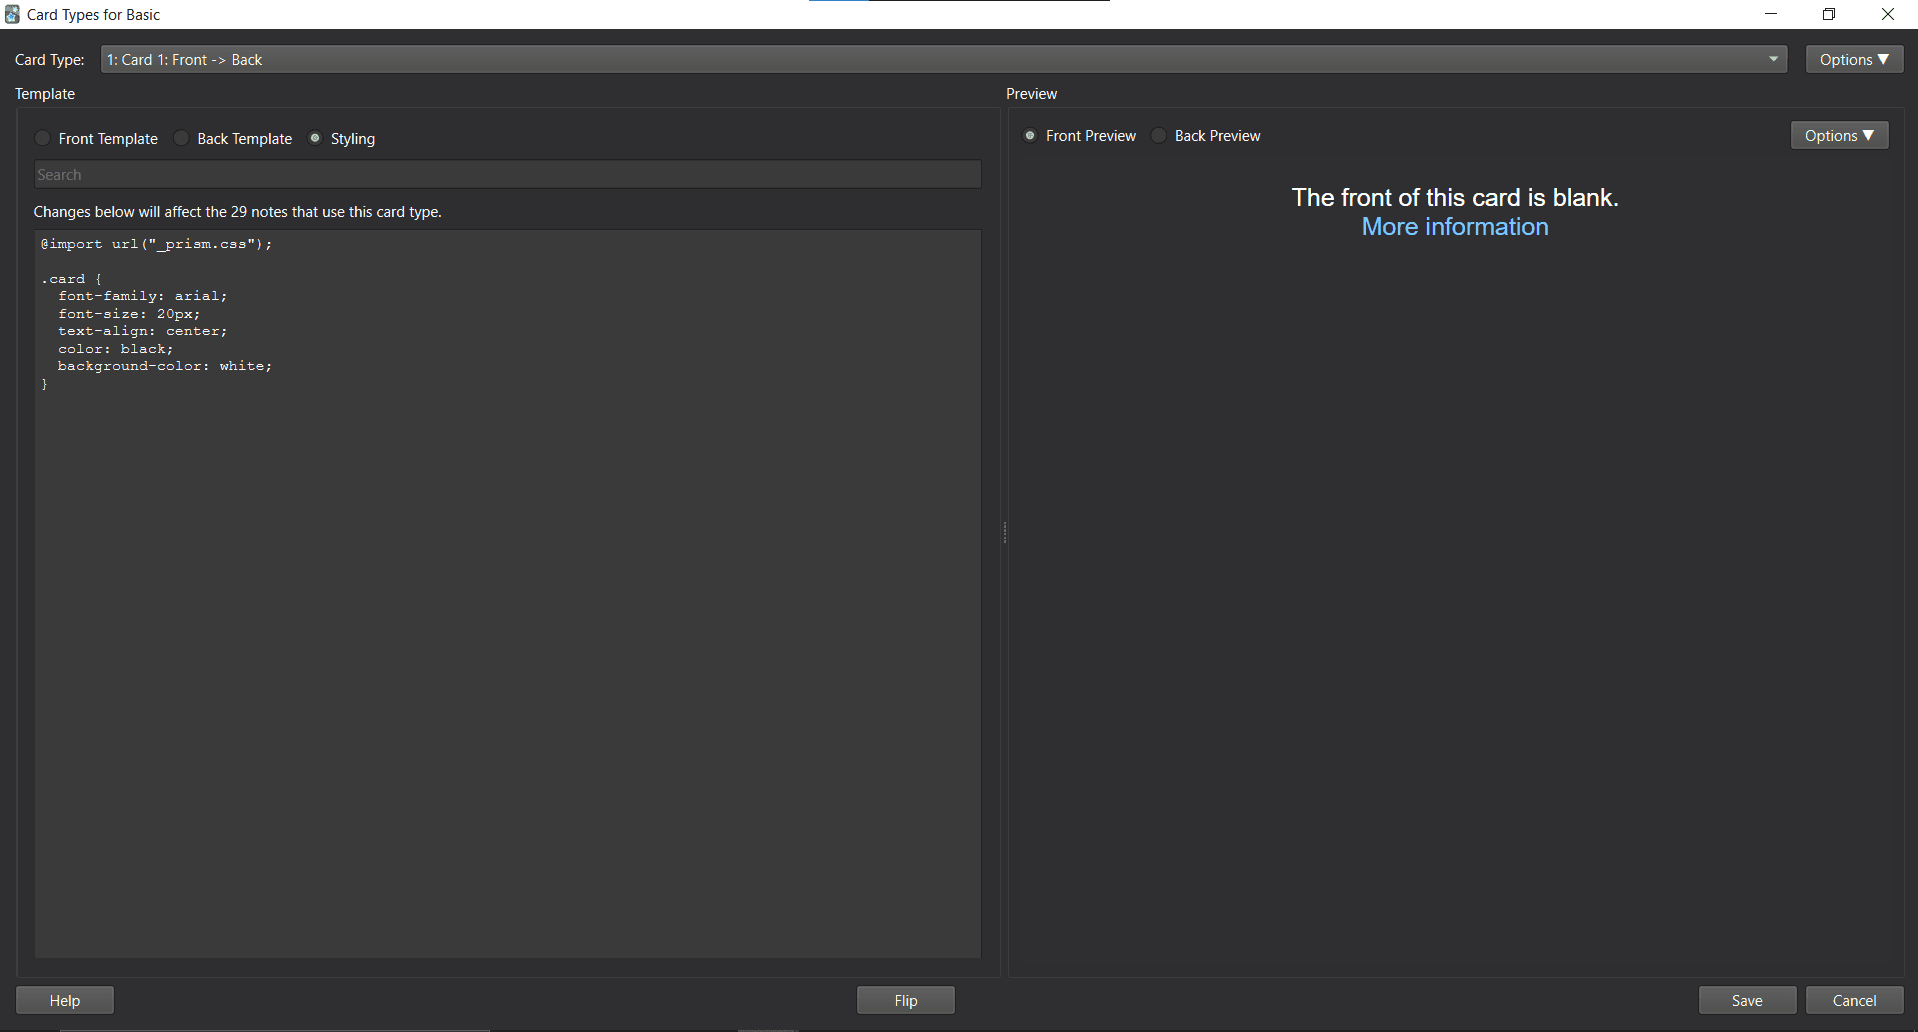
Click on styling radio button in card template and add this line at top.
@import url("_prism.css");
Here is screenshot for the same.
Add code for syntax highlighting in your cards
First you can type your text normally as would you like. For example i wrote Test syntax highlighting: (Its optional).
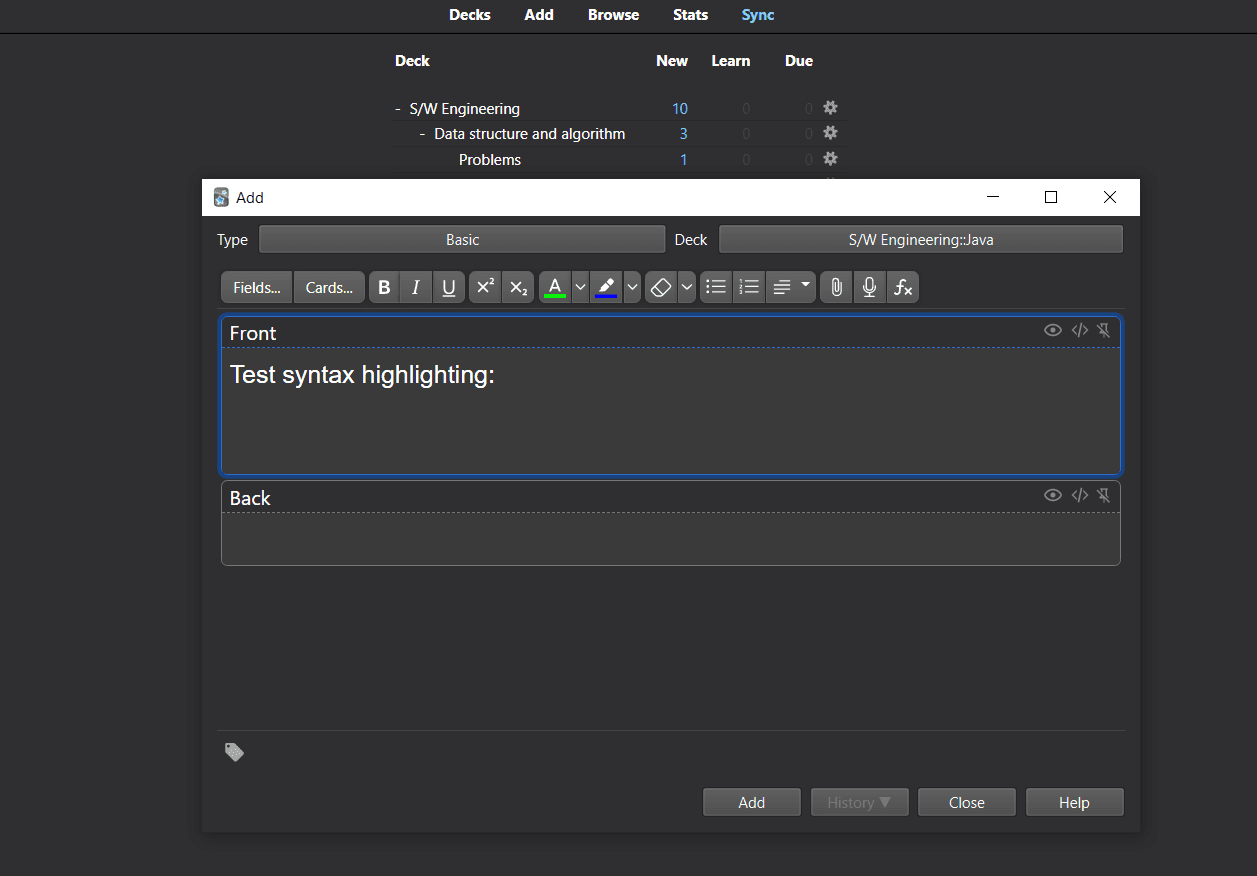
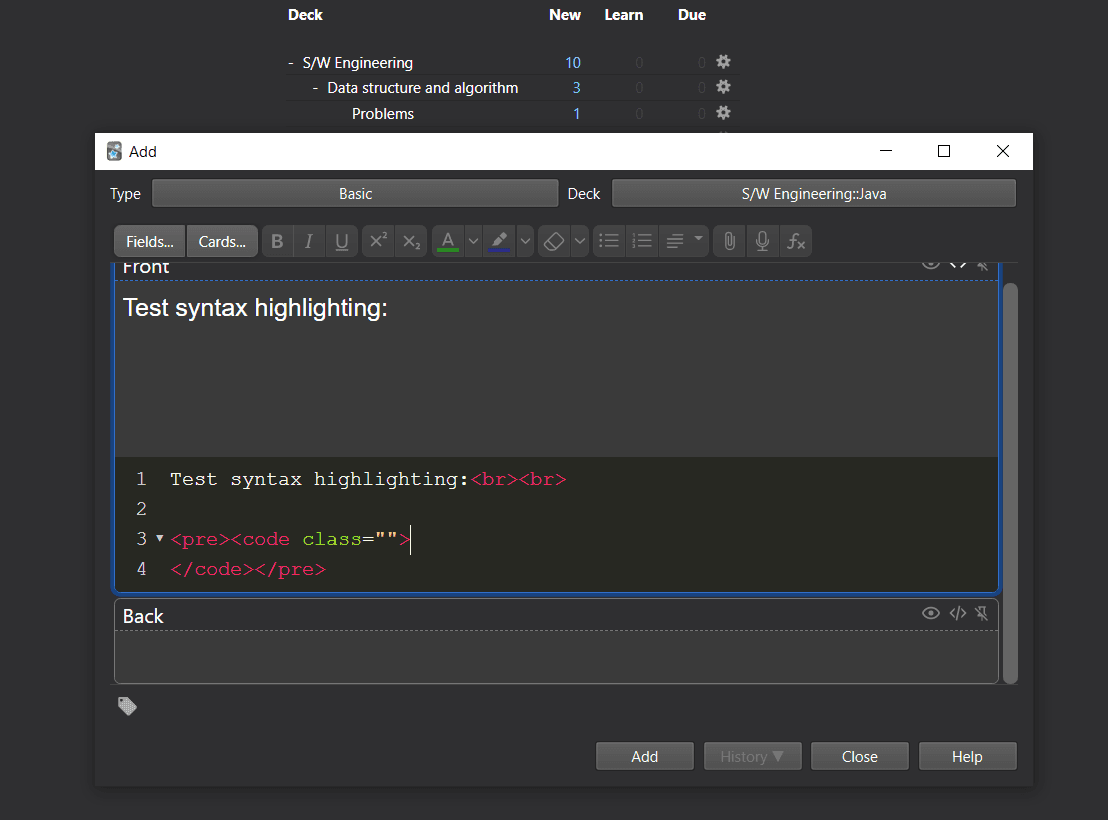
Next press ctrl + shift + x to go into html editing mode. You can press same key combination to get out of this mode.
Now, add pre tag and inside it add code tag. And add the class attribute to code tag.
Next we have to provide the language to class attribute of code tag. For my case, I am using java and hence
i have to write language-java.
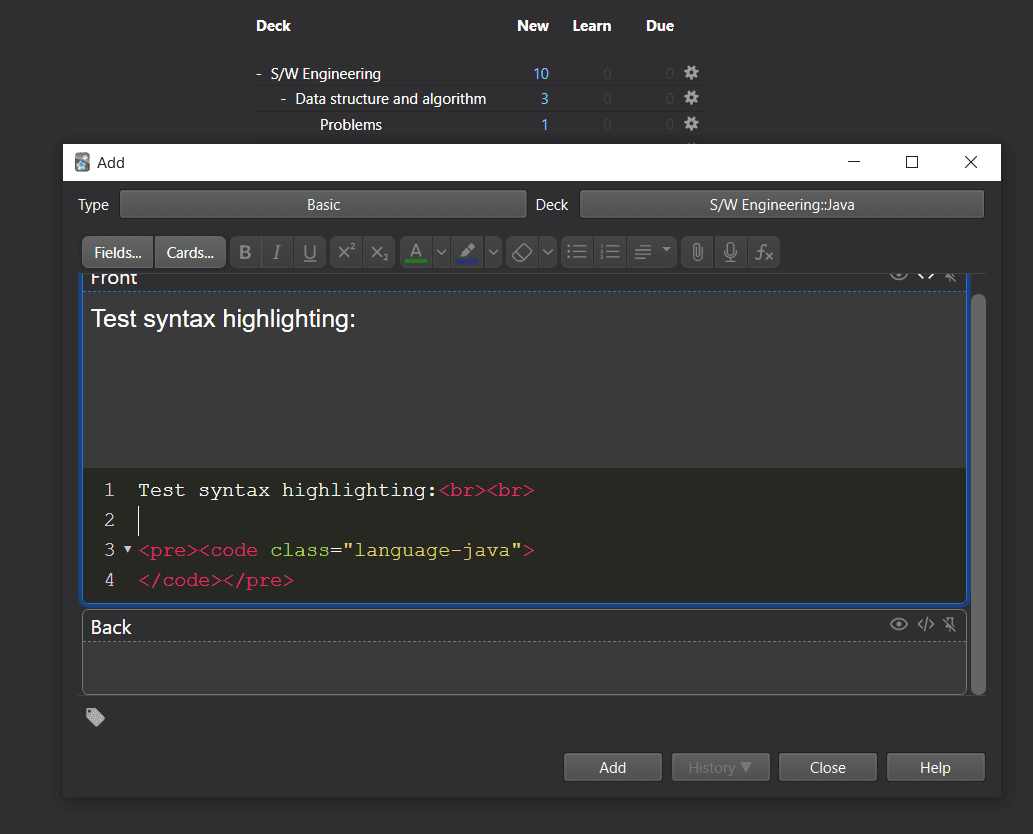
Lastly, add you code inside code tag like this.
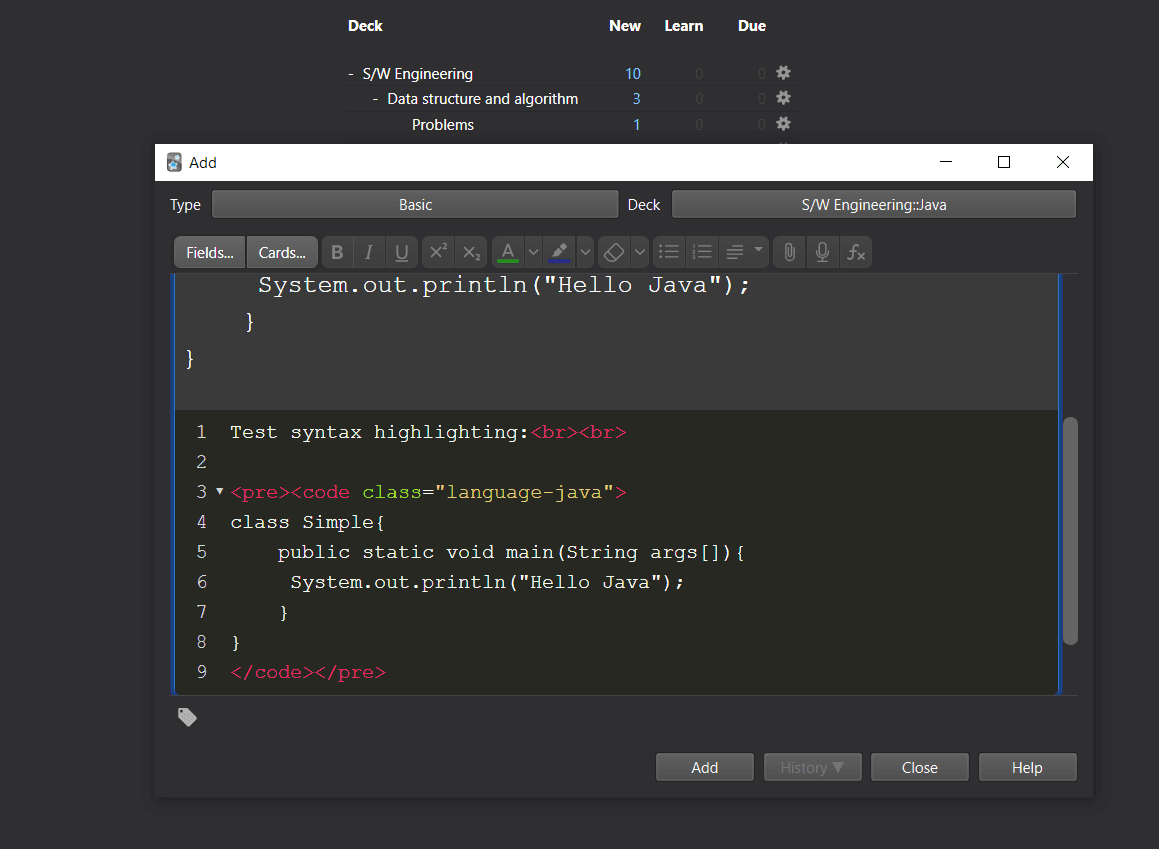
As you can see, syntax highlighting is not visible at this moment. But when you study or preview the card, it will be applied.
